A guide for deploying Telekom’s awesome multi-honeypot T-Pot on Azure.
Azure VM Deployment
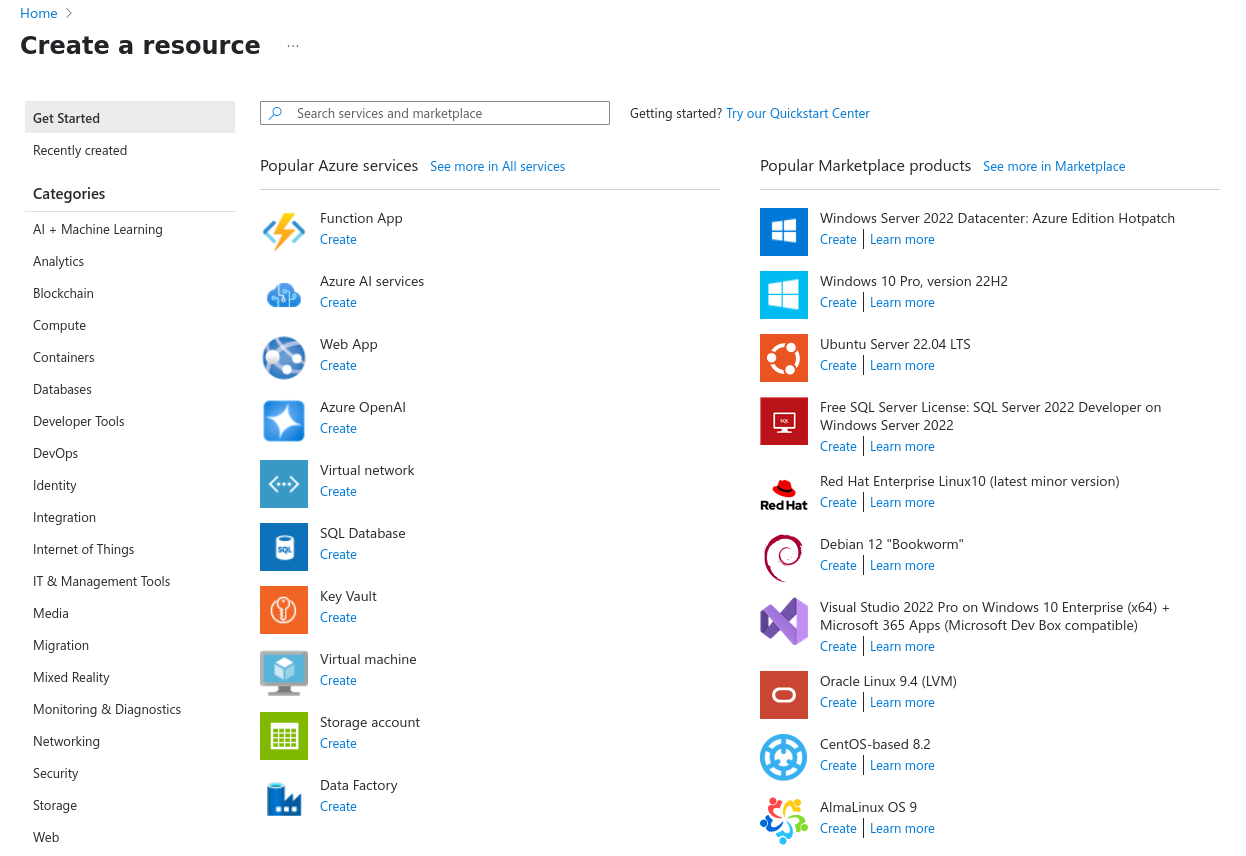
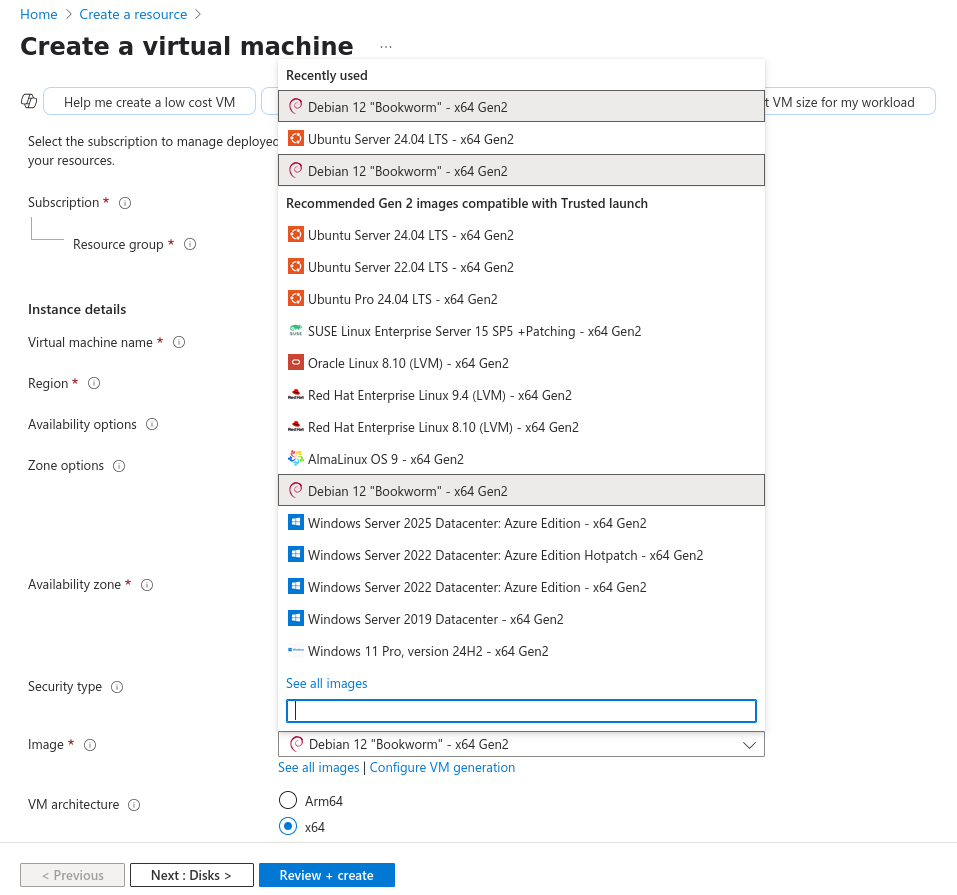
Create a resource > select Ubuntu Server 24.04 LTS or Debian 12 "Bookworm"
- Note: Ubuntu was less “problematic”, Debian was slightly (negligible) more performant. I went with Debian for this tutorial, but most steps should apply to both.
Basics
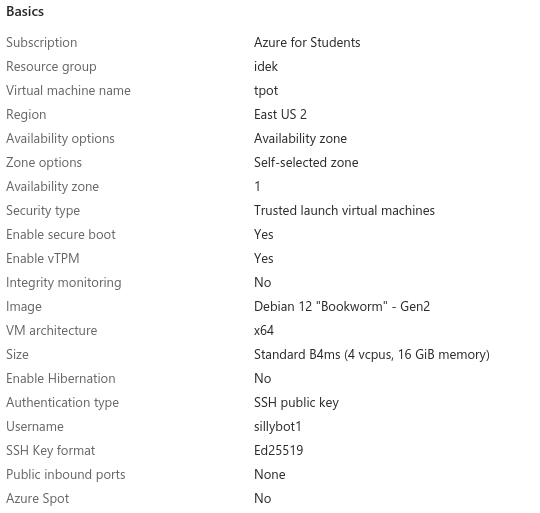
Virtual Machine Name:    tpot
Region:                  East US 2
Availibility Zone:       1
Image:                   Debian 12 "Bookworm" - Gen2
VM architecture:         x64
Size:                    Standard B4ms (4 vcpus, 16 GiB memory)
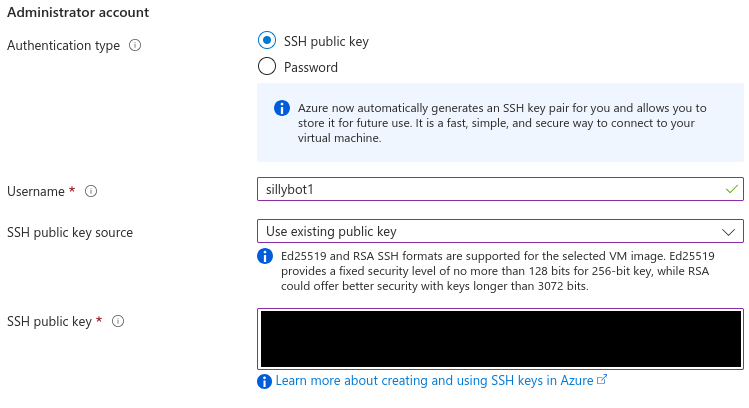
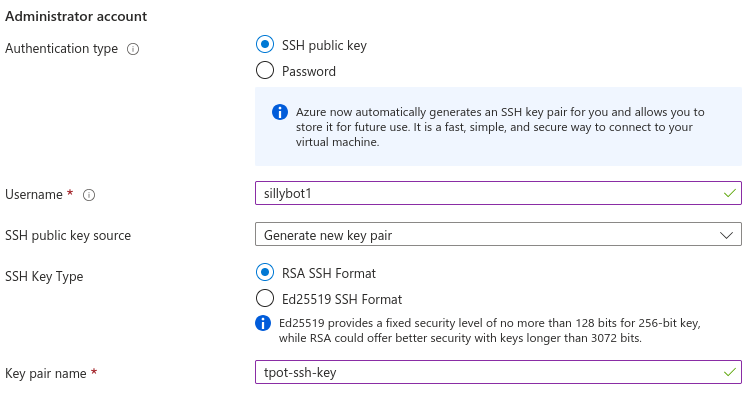
Authentication type:     SSH public key
Public inbound ports:    none
- Note: To save costs, it may be possible to run T-Pot on 2 cores, 8GB RAM - though this would require tweaking Logstash/Elasticsearch (A T-Pot Hive install on a fresh server idles around 7.9-8.5 GB RAM usage).
- Note: You can allow immediate remote access via port 22 during this setup, but this port will be exposed to ALL external IPs. For this reason, I suggest setting ‘Public inbound ports’ to None and then creating a more restricted, temporary NSG rule after deploying the VM (see Install step #1).
- Note: You can select ‘Generate new key pair’ here if you want to use a new SSH key for accessing this VM. Put this key in your local .ssh folder. If on *nix, you may need to restrict its permissions with
sudo chmod 400 {generated key name}.pem
Disks
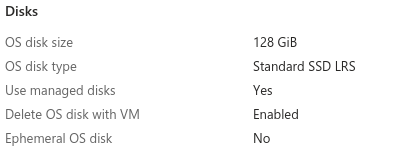
OS Disk size:      128 GiB
OS Disk type:      Standard SSD LRS
Delete with VM:    Enabled
- Note: Though the offical documentation says SSD storage is required, I found this to work fine on Standard HDD.
Networking
Virtual network:            tpot-vnet
Subnet: default             (10.0.0.0/24)
Public IP:                  tpot-ip
Accelerated networking:     On
Delete with VM:             Enabled
- Note: T-Pot expects your virtual network subnet (internal) to be a /24 (255.255.255.0)
Installing T-Pot
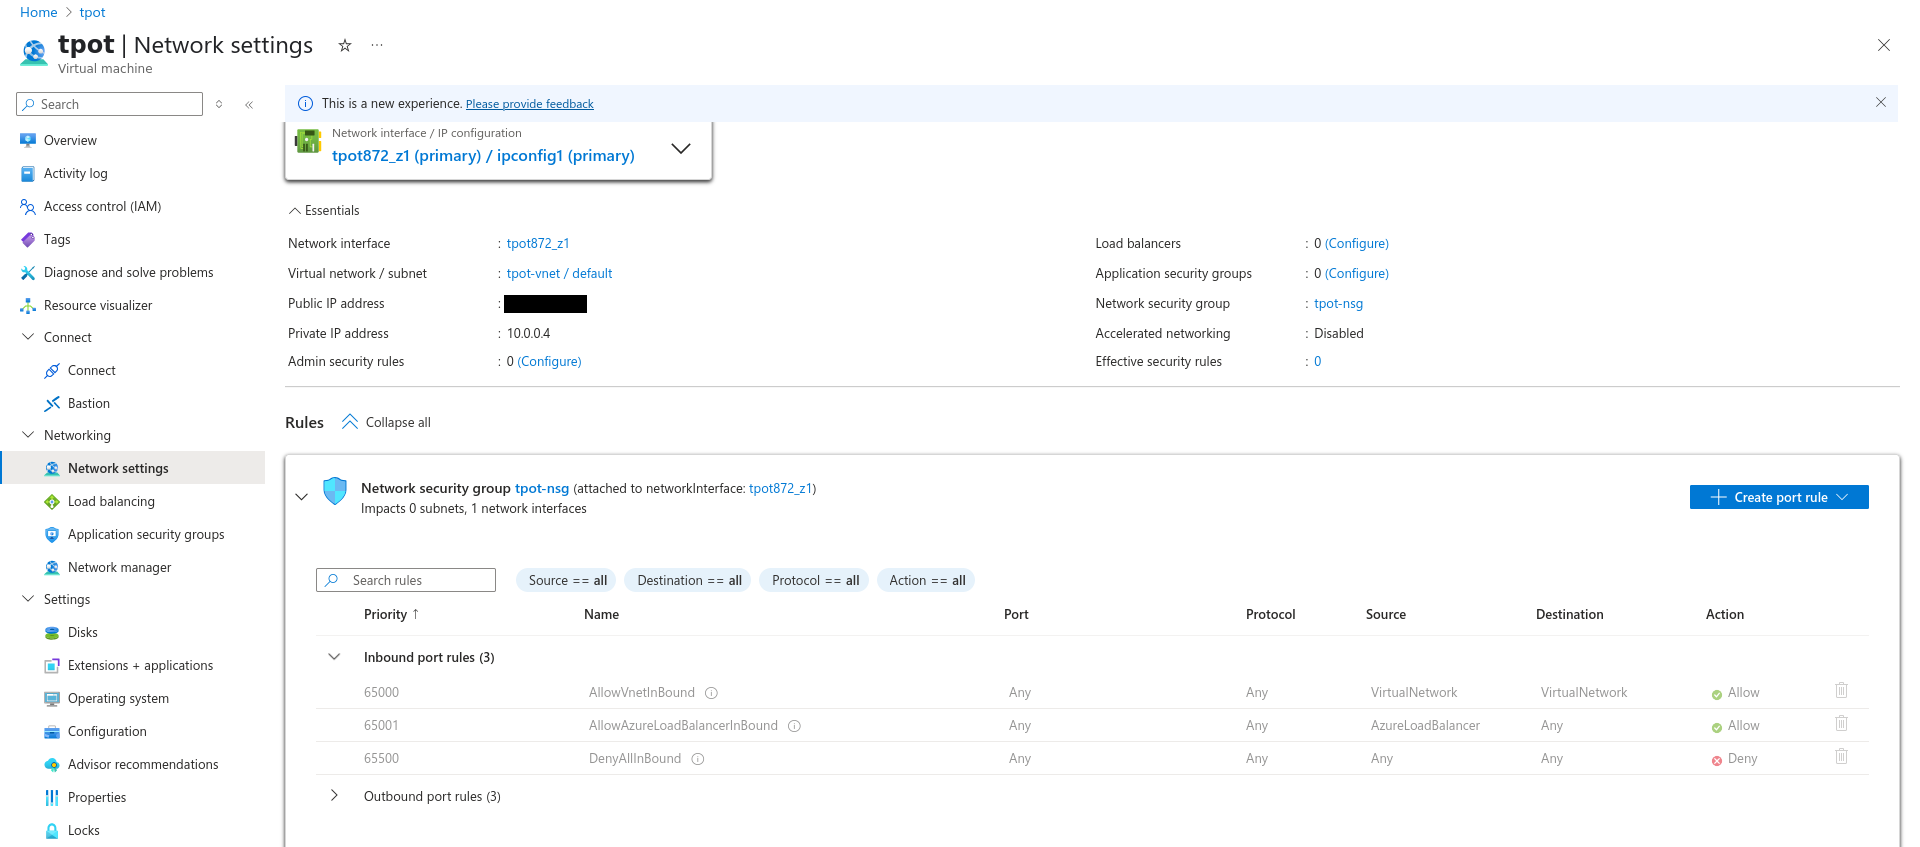
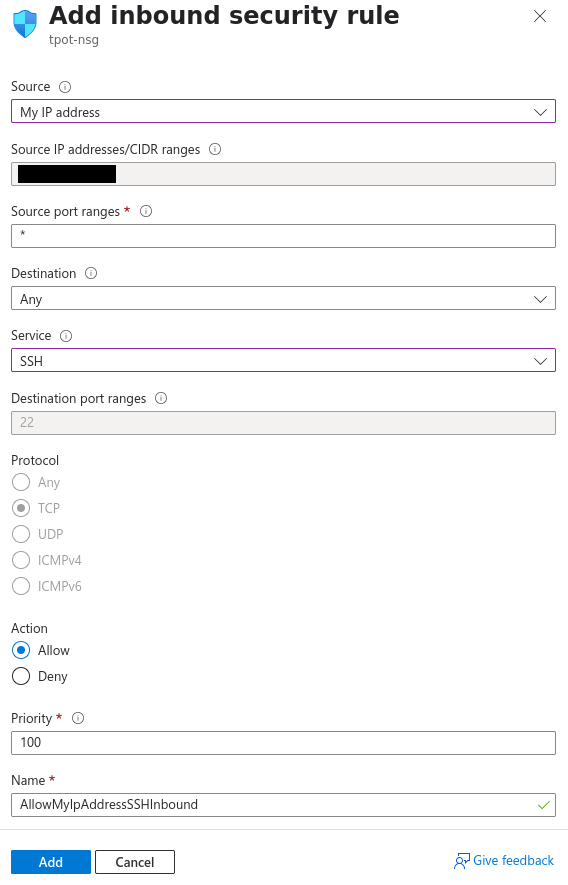
- Create temporary SSH firewall rule (VM > Side Panel > Networking > Settings > (+) Create Port Rule > Inbound)
SSH into the VM
As non-root,
cd $HOMEand run the following command (please verify this has not changed):env bash -c "$(curl -sL https://github.com/telekom-security/tpotce/raw/master/install.sh)"
- Note: If unattended-upgrades.service is running (check with
sudo systemctl status unattended-upgrades.service), you may need to stop it temporarily to avoid ‘dpkg frontend lock’ errors:sudo systemctl stop unattended-upgrades.service
During install:
- T-Pot install type: ‘h’
- Document your chosen web username/password. You will need this to login to the T-Pot Web Dashboard.
- Even though Azure NSG rules restrict access, make sure to have a strong web user password (e.g. 30+ char alhpa-numeric).
System Tweaks
$ nano /etc/ssh/sshd_config
change: PasswordAuthentication {} --> PasswordAuthentication no

$ sudo apt install unattended-upgrades
$ sudo systemctl enable --now unattended-upgrades.service

$ sudo crontab -e
# cleanup
0 2 * * 0 apt autoremove --purge && apt autoclean -y

(if your VM has exim4 installed, it will compete with some of the honeypots for port 25)
$ sudo systemctl disable --now exim4-base.timer exim4-base.service exim4.service
$ sudo apt purge exim4*
NSG Firewall Rules
- Delete the temporary SSH rule created for initial access
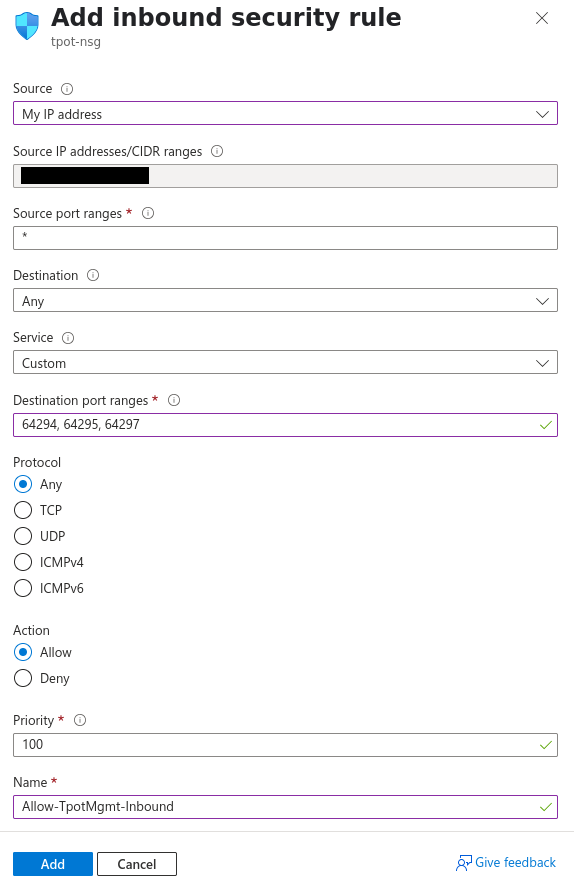
Inbound:
Source: My IP address
Source IP addresses/CIDR ranges: {your public IP}
Source port ranges: *
Destination: Any
Service: Custom
Destination port ranges: 64294, 64295, 64297
Protocol: Any
Action: Allow
Priority: 100
Name: Allow-TpotMgmt-Inbound
Description: Allow SSH and Web Dashboard access from My IP.
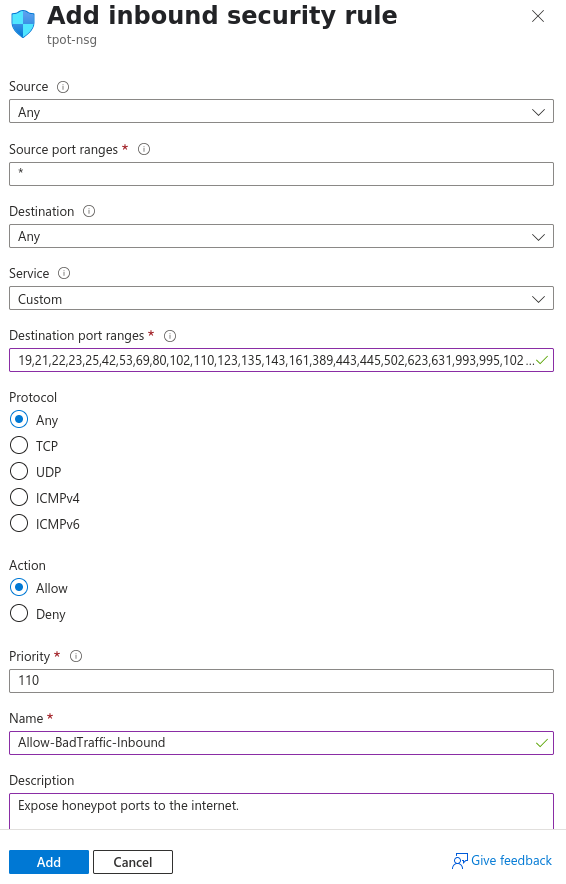
Source: My IP address
Source IP addresses/CIDR ranges: {your public IP}
Source port ranges: *
Destination: Any
Service: Custom
Destination port ranges: 19,21,22,23,25,42,53,69,80,102,110,123,135,143,161,389,443,445,502,623,631,993,995,1025,1080,1433,1521,1723,1883,1900,2404,2575,3000,3306,3389,5000,5060,5432,5555,5900,6379,6667,8080,8081,8090,8443,9100,9200,10001,11112,11211,25565,44818,47808,50100
Protocol: Any
Action: Allow
Priority: 110
Name: Allow-BadTraffic-Inbound
Description: Expose honeypot ports to the internet.
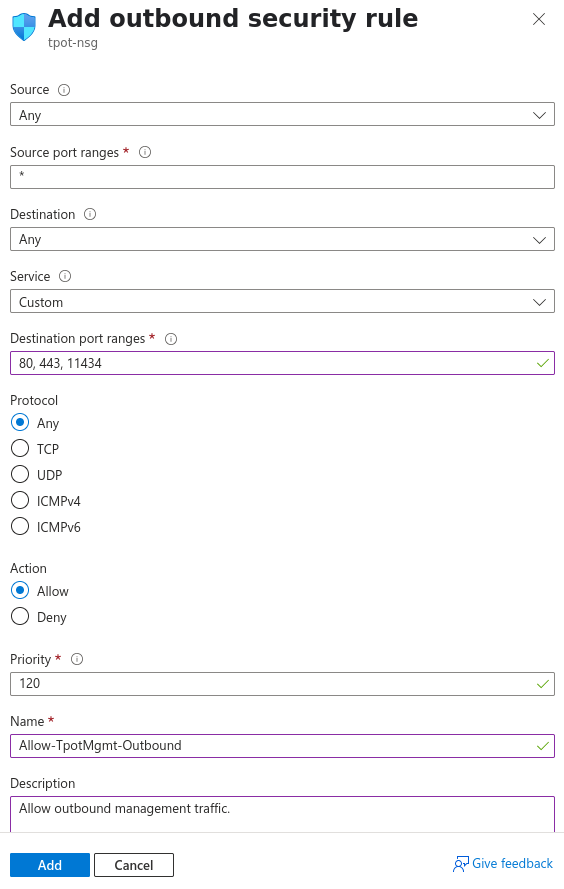
Outbound:
Source: Any
Source port ranges: *
Destination: Any
Service: Custom
Destination port ranges: 80, 443, 11434
Protocol: Any
Action: Allow
Priority: 120
Name: Allow-TpotMgmt-Outbound
Description: Allow outbound management traffic.
Test Access
SSH: ssh {username}@{Azure VM Public IP} -p 64295 or
ssh {username}@{Azure VM Public IP} -i ~/.ssh/{generated key name}.pem -p 64295 if you’re using a new key.
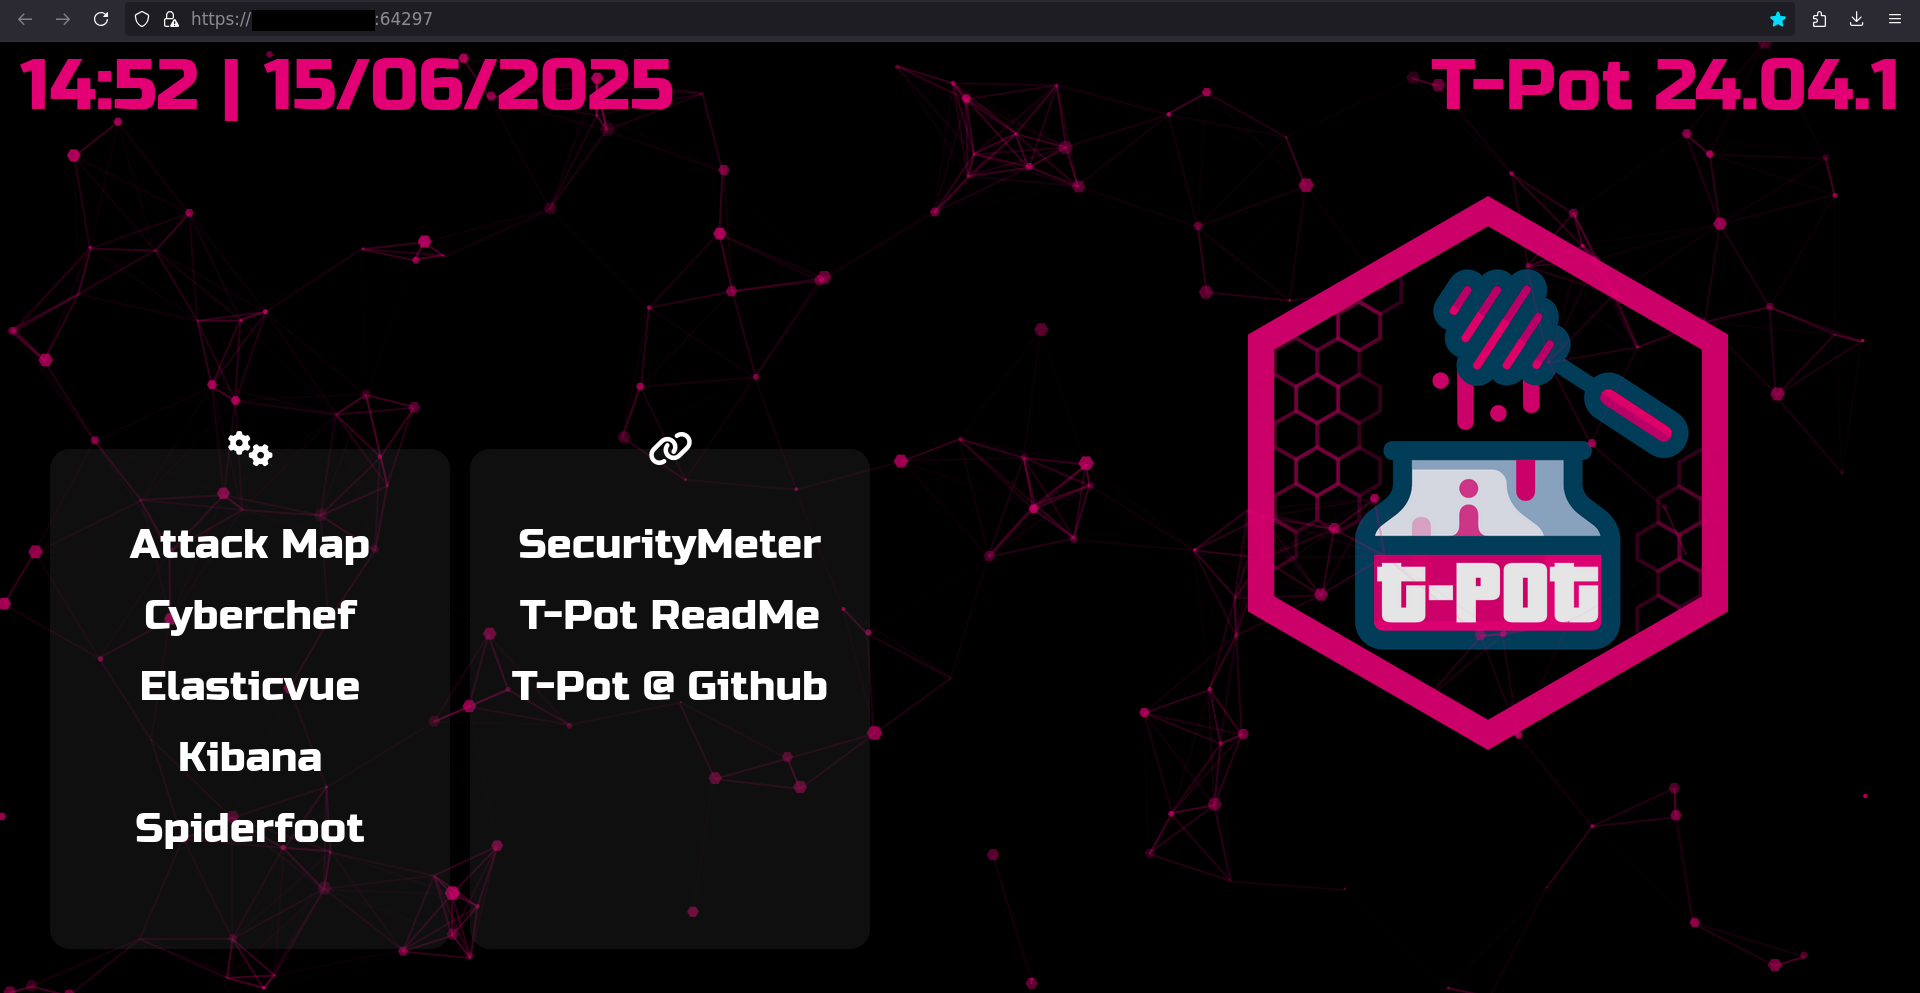
Web Dashboard: https://{Azure VM Public IP}:64297 (bookmark this)
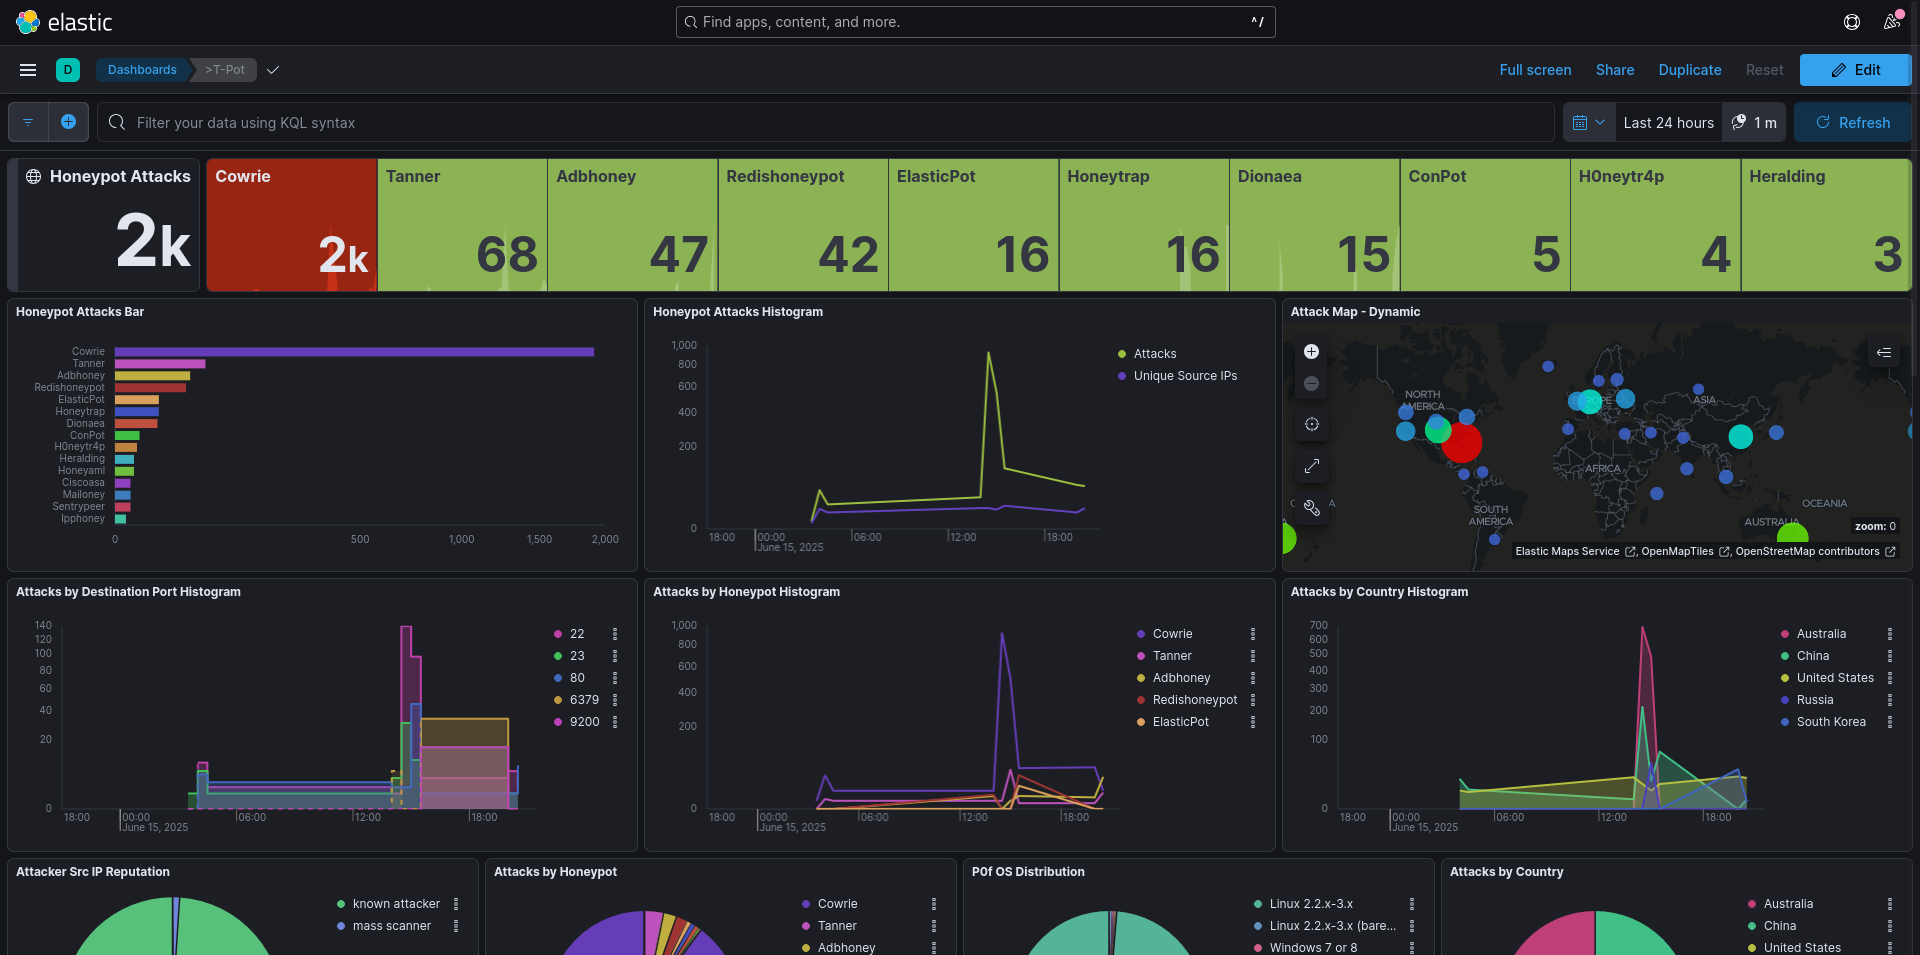
Kibana
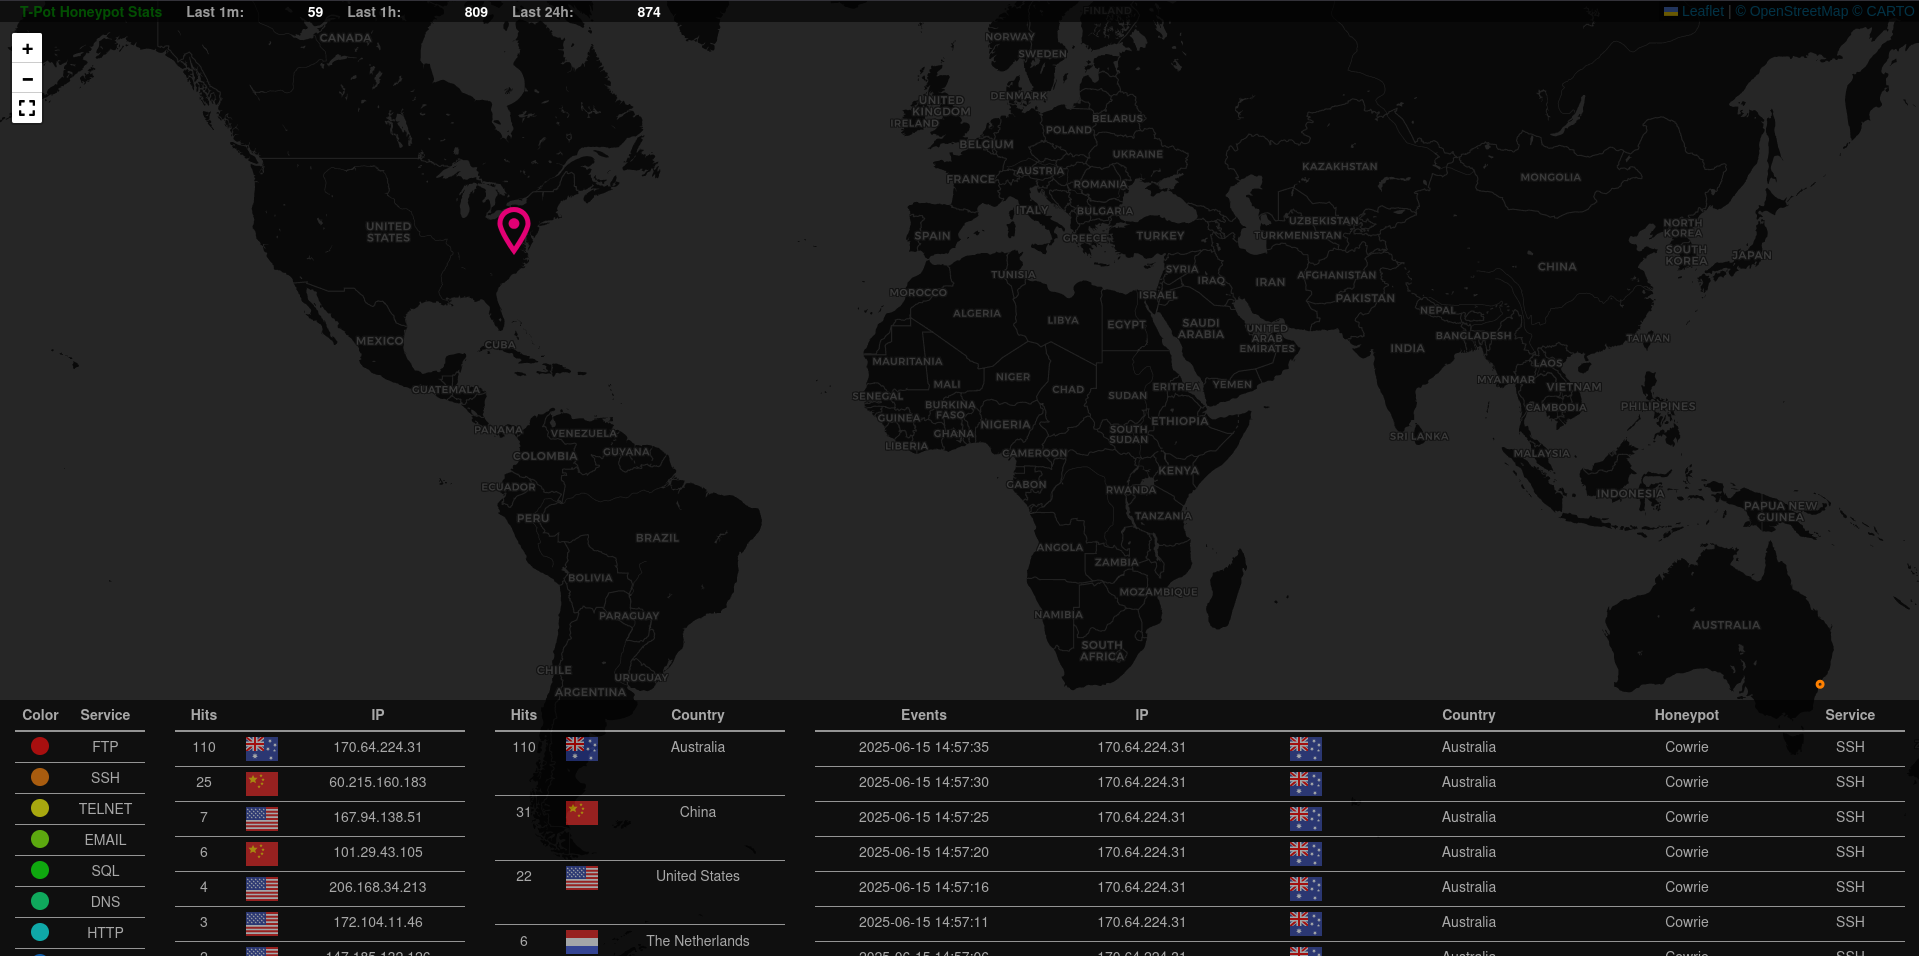
Attack Map
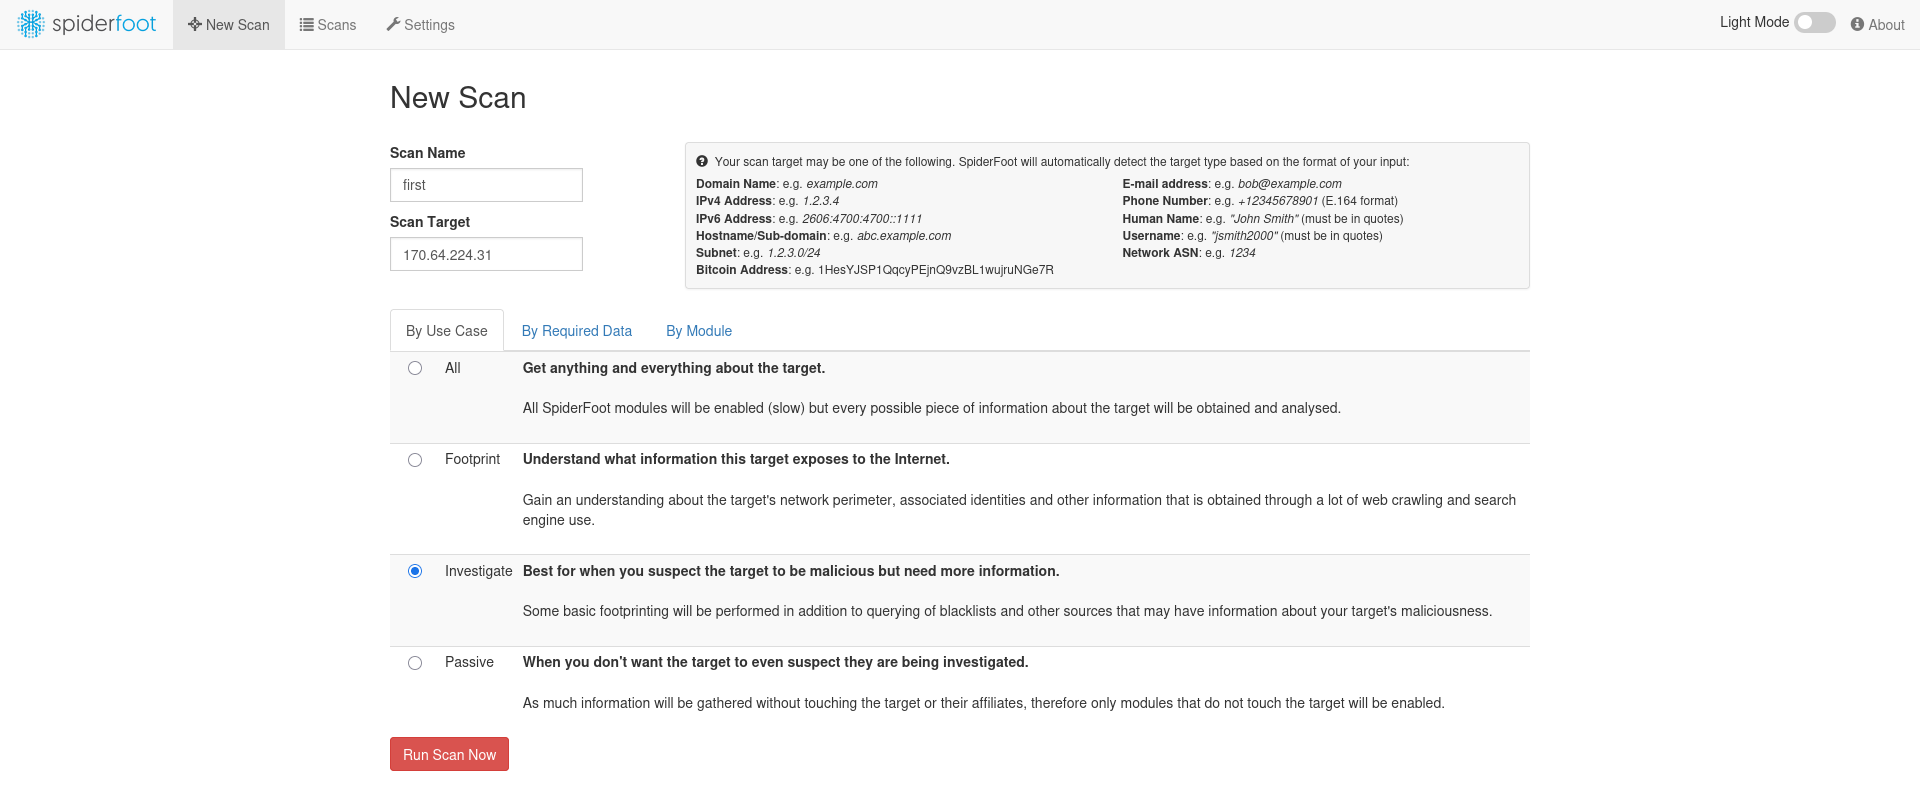
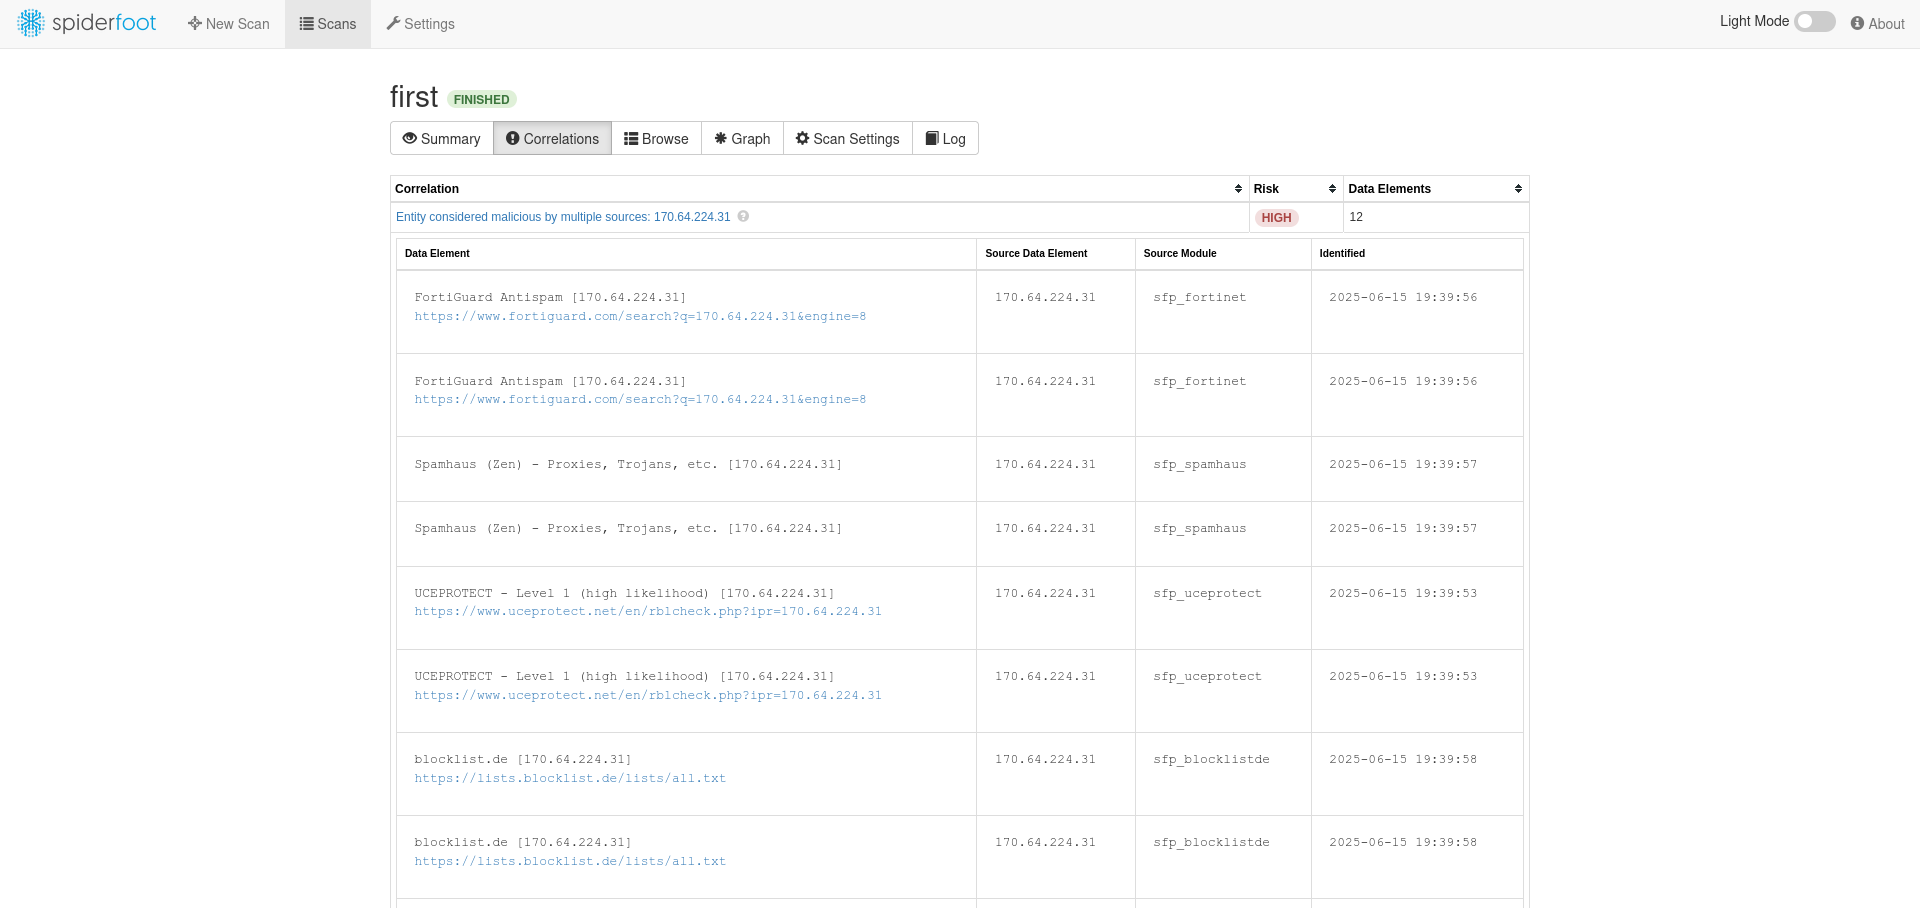
SpiderFoot Threat Intelligence
Administration
File Transfer
Upload to T-Pot server
scp -i {key name} -P 64295 -r {file or folder to upload} {T-Pot username}{<server IP}:{remote target path}Download from T-Pot server
scp -i {key name} -P 64295 -r {T-Pot username}@{server IP}:{file or folder to download} {local target path}Verify that the file/folder to be downloaded has group (tpot) read access:
chmod g+r /home/csadmin/tpotce/data/dionaea/binaries/*
Creating New Web Users
Option 1
/home/<local user>/tpotce/genuser.shhtpasswd /home/<local user>/tpotce/data/nginx/conf/nginxpasswd <new user>- Verify:
cat /home/<local user>/tpotce/data/nginx/conf/nginxpasswdto make sure there is an entry for<new user>
Option 2
htpasswd -n -b 'username' 'password' | base64 -w0- This will output a base64 string that should be pasted into ~/tpotce/.env for permanent web usersvi ~/tpotce/.env- Edit WEB_USER={base64 string here}
- If there are multiple web users separate b64 strings with a space: WEB_USER={base64 string} {base64 string}
Note: For some reason, Option 1 would not create permanent web users (resets after scheduled tpot.service restart)
Note: All created users will have admin/edit privileges on the Kibana dashboard. If desired, a separate Elastic instance can be connected to T-Pot for more custom authorization.
Changing the T-Pot Web UI Password:
htpasswd /home/<local user>/tpotce/data/nginx/conf/nginxpasswd <web username>- Verify:
htpasswd -v /home/<local user>/tpotce/data/nginx/conf/nginxpasswd <web username>
Creating a Kibana Dashboard Visualization
…
GreedyBear Feed Generation
…
OpenCTI Threat Intelligence Correlation
…
Splunk Integration
…
Troubleshooting
To check for TPot-related errors:
journalctl -u tpot -fsudo systemctl status tpot.service
To check for port bind conflicts that will force-restart tpot.service:
sudo netstat -tulpenorsudo ss -tunlap
To determine processes reponsible for port conflicts on a specified port:
sudo fuser {port}/tcp(udp)to get the PID(s) of processes using this port, thenps -p {PID}
You may need to manually set DNS/nameservers in case of port 53 conflict:
sudo systemctl disable --now systemd-resolved.service

sudo nano /etc/resolve.conf

---
127.0.0.1 {hostname}
nameserver 8.8.8.8
nameserver 8.8.4.4
